How do I schedule emails?
Managing scheduled emails in Churchteams
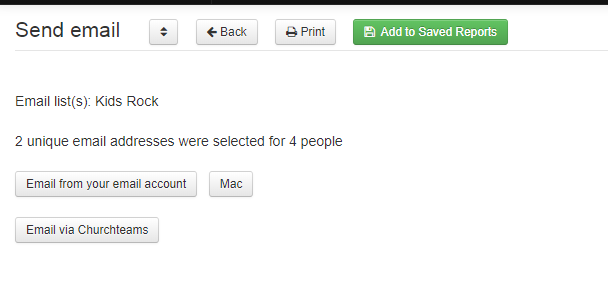
To schedule an email in Churchteams, first, create the email by going to Communicate > Email > Send. After choosing options such as an Email List on the left Options column and/or using Filters in the middle column to select recipients, run the report by clicking "Go!", and choose Email via Churchteams in order to be able to schedule the email.

Once in the Email editor screen, create your email. Then scroll to the bottom of the screen to select "Schedule Date/Time". Enter a date on the calendar and select a time. Click send to place the email in the scheduling queue.

To see scheduled emails in your queue, go to Communicate > Email > Scheduled.
From the list of scheduled emails, you can see when the email is scheduled to go out, the date it was created, the Subject line, and the number of recipients. By clicking on the number of recipients, you can see who is set to receive the email. Click the Preview button to see the email.

You can edit an email that has been scheduled, depending on your User level access, if it hasn't already been submitted to the email provider. If it is still editable, you can click on the blue hyperlinked scheduled time and make edits to the content. If the scheduled time is no longer a blue hyperlink, that means it is too close to the scheduling time and has been submitted to the email provider. You cannot edit this email that has been scheduled, but you can use the red "X" located at the far right of the screen to delete the scheduled email, therefore preventing that from going out. If you happened to have saved this email as a Saved Template during the email creation stage, you can go back and edit it there, then reschedule the email.
