
Go to Reports > New > Check-In Roster (printable). *Once you set this report up and filter it to Groups using Printable Rosters, you can save the Report and add it to your Home Dashboard in the Favorites card.
- On the Report page, in the Options column on the left, choose the dates for your printable Check-in Roster (we recommend no more than 6 dates for optimum spacing, but many churches choose to do only one month's worth of dates at a time).
- You may also select other output fields you wish to display on your roster, such as cell phone or birthdate. We caution against printing too much information on the roster due to spacing.
- Filter to the groups for which you wish to print rosters:
-
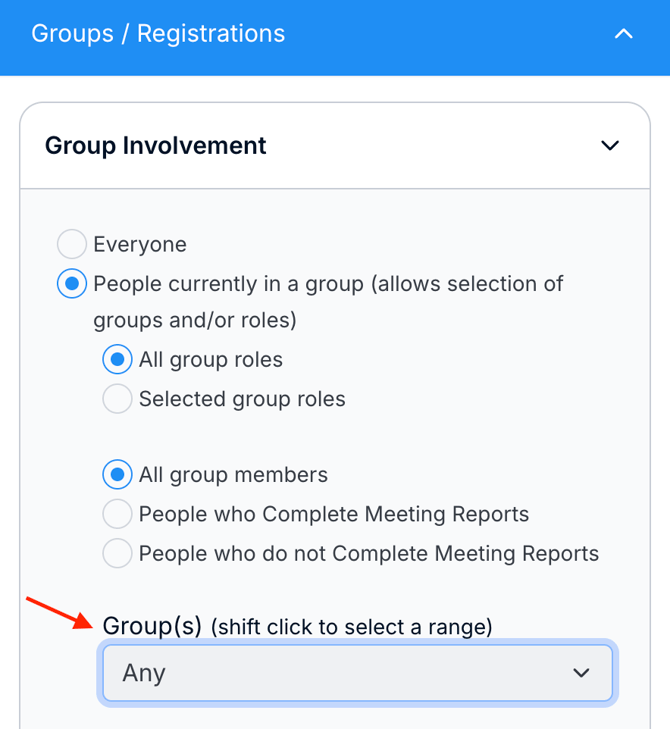
- Click the blue Groups / Registrations bar in the middle Filters column.
- Select Group Involvement > People Currently in a Group.
- Use the Groups drop-down menu that appears just a bit further down in the Groups filter column to select your groups. A separate roster will print for each of the groups you select.
- Review all your Options and Filters in the far right Review column, then click "Go!" and print the rosters.