
- To create a registration, you must first start with a group. The registration is then added on to the group. So, if you have not already, create the group. Whether this is a class, event, or just a group for tracking, we always start with groups!
- From the group page, click the blue Registration > Settings.

- You'll find the link for this registration form at the top of the page, in the green highlighted bar. Use this link on your website or in emails inviting people to register. (There are also options for Embed Code and Popup window code, depending on how you'd like your registration to appear on your website). If you are subscribed to Text-to-Church, enter a KEYWORD that you want people to text to your Text-to-Church number in order to complete the form from their phone.

- If you want to include custom messages to registrants, such as instructions or completion messages, there are boxes for these on this page.

*We recommend that you UNcheck the "Include Group Information" option at the top of the Registrant confirmation email area unless this registration is for a class that will be meeting regularly. - To add questions to your registration form (registration fields), select either people attributes or registration fields from the Registration Fields drop-down menu near the bottom left of the page.
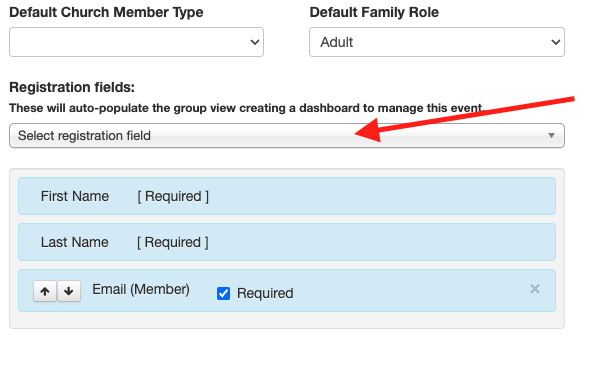
- To add a new question/field that is not already on the list, click "Customize Registration Fields," located to the right.
- On the Customize Group Registration Fields page, click the New Registration Field button. There are several field types, the most common being drop-down or text field. The field name is the question you are asking, such as T-shirt size or Grade.
- Once you've created all your custom fields, click "Back to Registration Settings" and scroll down to the bottom of the Settings page again to select the newly created field from the drop-down menu.
- Once you've completed setting things up, you can copy the green link at the top of the page to post in your website, send in an email, or on social media.
Registration Payments
For very basic payments, use the "Registration Cost (per person)" at the top. But for more complex payments, use the "Custom registration fields" at the bottom. If using the custom fields, it is most likely you won't need to use the registration cost field at the top.

Registration payments are tracked by the actual group name. To see a report of payments for a group, go to Reports > New and under the Financial section, select "Registration Payment Summary" or "Registration Payment Details". The payments are deposited into your same account, but they are not tracked by a funds/designation in the way contributions (tax-deductible donations) are. Instead, they are tracked by the event name.
Click HERE for a comprehensive list of videos that go over several registration scenarios. Check out the Connection Card video to see how to use the auto-register feature.