
Upgrade User Interface for Add New Family in Check-in
If you do nothing, you will continue to see the legacy version of the Add New Family screen. This is familiar if you're using Check-in.

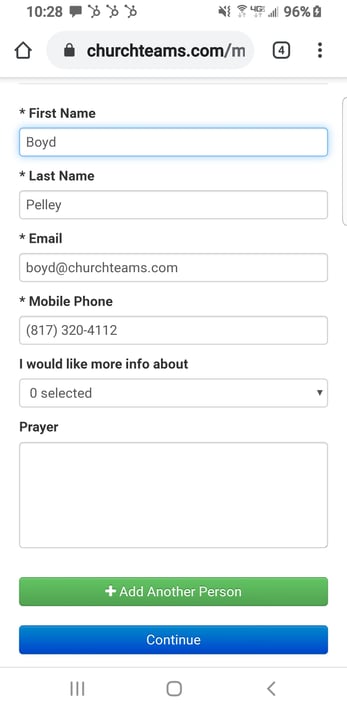
The new approach allows you to use our Registration feature to Add A New Family. This gives guests and volunteers a customized and simpler User Interface. It also allows you to leverage the power of Registrations during check-in. For example, this registration screen is much more welcoming.
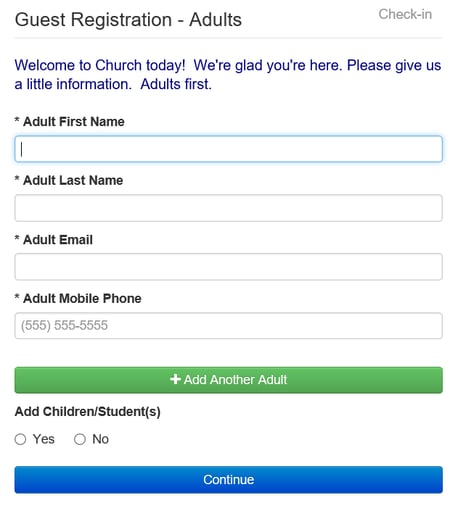
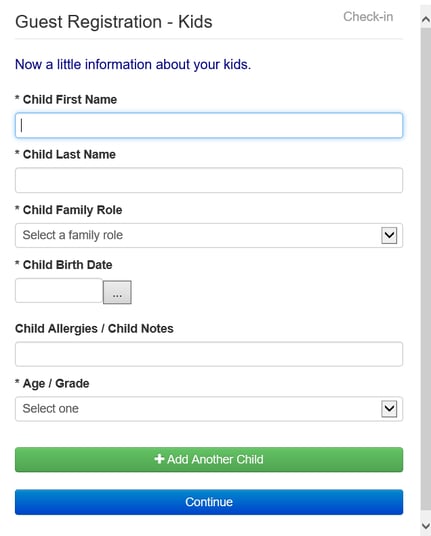
After the adults register if they choose to add children, they will be taken to a new screen to register them. This makes it clear what info you want for adults and what info you want for kids.
To make this change,
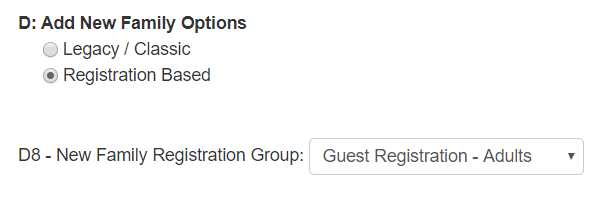
- Click on Check-in then Settings then View/Setup. The settings changes are in section D.
- Switch from the Legacy / Classic option to the Registration Based option.
- Next pick an adult group to register new families into. Create a new one or use the same group you had in the Legacy view option D2. I just called the group "Guest Registration - Adults".
- Create a new group for "Guest Registration - Kids" or whatever name you choose. In Registration Settings for this group, customize the Settings including instructions and the information you want on the form.
- Note: The Age / Grade setting is a Registration Attribute (button on the Registration Settings page). When you create that Registration Attribute, use the Auto-complete option to Auto-Register or enroll kids into their appropriate class.

- Go to the adult group you selected in #3 above and customize the Registration Settings for that group with the instructions and form to capture information from adults.
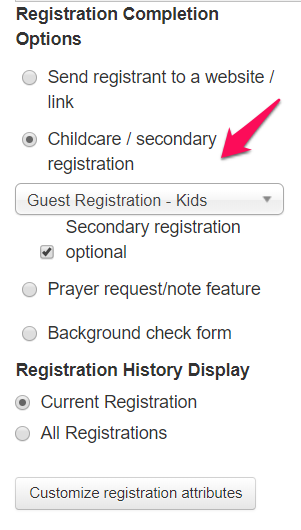
- Use the Registration Completion option to connect the kids registration.
Change What Happens With Text-to-Checkin
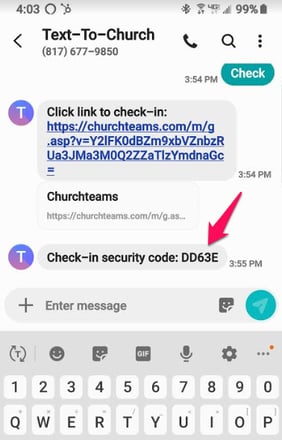
If you are not familiar with Text-to-Checkin, check out this blog post. Previously to use Text-to-Checkin a person or family would have had to use Text-To-Church for either giving or registering for something else. That has changed, now people can register for Text-to-Church by texting CHECK or CHECKIN. When they do they will be taken to the Add New Family form which will either enter them into the database or search for and match them.
As usual, once an adult has checked in, a text is sent back to them with their family security code for the day.
In addition the system automatically sent them to your default church website in the past. Now, you can control the page or form that people go to once they have checked in. In the same Check-in view, go to E6 and put in the landing page that you want people to go to once they are finished with check-in. This might be a digital bulletin, response card or your website with the latest information.

If the page that you redirect people to here is a Churchteams Registration form like a connection card or if the page you take them to links to a Churchteams Registration form directly, the system will automatically fill out the contact information on the form for them.
And ALL of this was done when one person in the family simply texted the keyword CHECK. Everyone is registered for everything they are doing that morning. And the registrant has landed on the page you want them to see in preparation for and response to the worship service they are attending.
Note: if more than one family member registers for anything, attendance is never duplicated.